We’ve all been there – we fill our bags full of gorgeous fresh veggies at the farmers’ market, we take advantage of a BOGO deal at the supermarket, or we have an overabundance of something in our garden (ahem, zucchini). But sometimes, we’re just too busy with commutes, work, and family commitments that we end up ordering a pizza instead of cooking the meal we had planned. Either way, we end up with an excess of fresh fruits and vegetables. Fortunately, it’s easy to preserve the summer bounty and its many nutrients, which our bodies need to fuel our busy days and our health potential. Even better, you don’t need to be masters in the kitchen or own canning tools to do it! Here are some no-fuss tips and tricks:

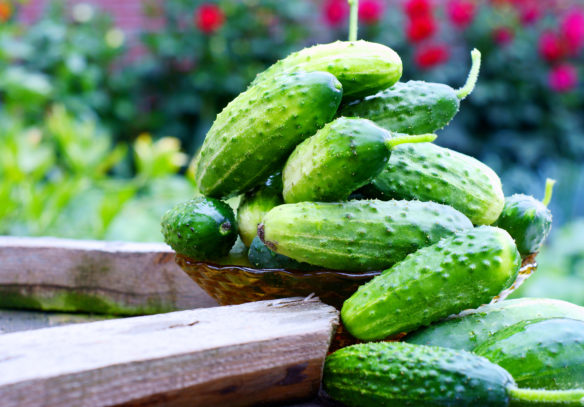
1. Quick Pickle Your Produce. One easy way to preserve your produce is with a “quick pickle,” a pickling technique that require less time and effort than their canned cousins. First, select your vegetables or fruit (yes, fruit!). In addition to the traditional cucumber, you can pickle corn, green beans, peppers, watermelon rinds, blueberries, cherries and more. Then, make your brine. Boil two cups of water together with one cup of distilled white vinegar, two tablespoons of kosher salt, two teaspoons of sugar, and up to two tablespoons of spices. Try coriander seed, mustard seed, black peppercorns, or any other spice. Put your fruits or veggies into jars, and pour in enough brine to cover them. Add herbs if you’d like, and soak them overnight before diving in. Your quick pickled produce will stay fresh in the refrigerator for up to two months.
CHEF TIP: Mix it up! Instead of white vinegar, use white wine vinegar or apple cider vinegar for a sweeter pickle.
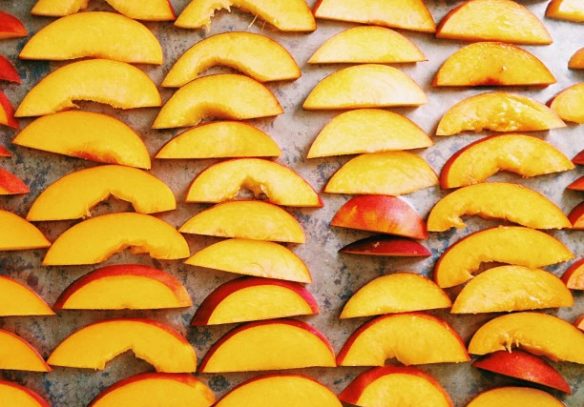
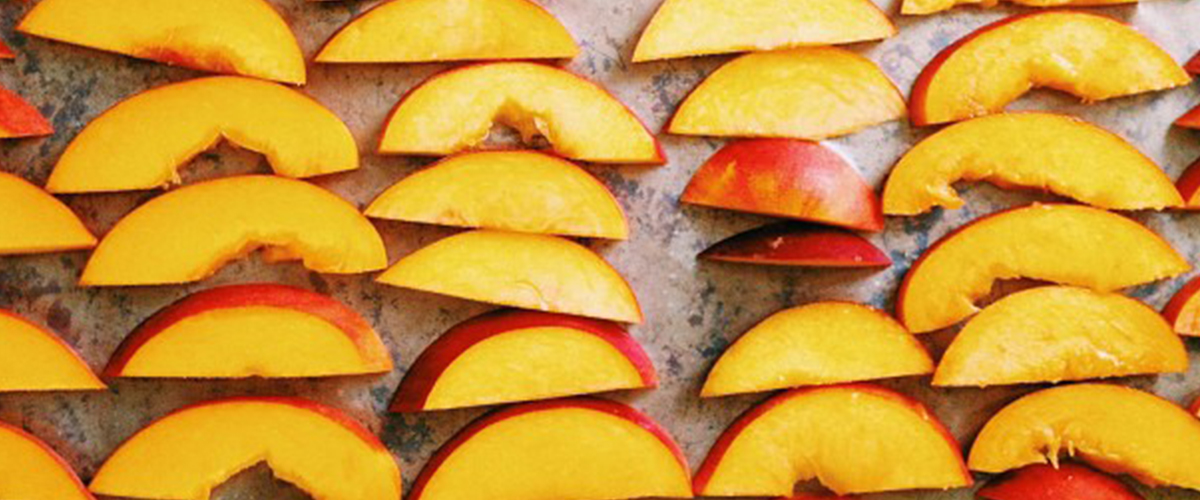
2. Fruit Drying, No Dehydrator Required. No food dehydrator? No problem! You can still dry fruits at home with your oven. Preheat your oven to 130-160 degrees Fahrenheit, opting for a lower temperature for thin sliced fruits, and space the cooking racks apart. Wash and dry your fruits, remove pits and stems and skins, and cut and slice to be approximately the same size. Cover a baking sheet with parchment paper, and spread your fruit in a single layer, making sure each piece doesn’t touch. Then, relax! Read, exercise, pickle something, or get outside. Check on your fruit periodically over the next several hours, and flip it as needed for even drying. About two to eight hours later, depending on the size of your fruit and your desired level of dryness, your fruit will be dried. Thin slices of apples will take less than two hours, plums, pears, peaches, bananas, and thicker apple slices will take about six hours, grapes will take eight to ten hours, and cherries, strawberries, and apricots can take up to 12 hours.
CHEF TIP: When the fruit is dried, let it sit in an open container for four or five days so any extra moisture will evaporate. Then, seal the containers, and enjoy dried fruit for up to 10 months!

3. Make the Freezer Your Fruit and Veggie Friend. It’s easy to freeze fruits and vegetables and save them for another day. To prepare vegetables for freezing, start by blanching them to preserve flavor, color and texture. To prepare fruit for freezing, rinse and dry the fruit completely to prevent freezer burn. Then, peel and chop bigger fruits and remove pits. After you blanch your veggies and wash and chop your fruit, place them in single layers on baking sheets with parchment paper and put in the freezer. Freezing first in a single layer will ensure that each fruit and vegetable is frozen individually, rather than as a big frozen block you need to chip apart later. Once everything is frozen, place your fruits and veggies into freezer bags or containers, squeeze out the excess air, and pop them back in the freezer. Frozen veggies will stay good for 8-12 months, and frozen fruits will stay good for up to three months.
CHEF TIP: Check out this guide for the time needed to blanch different veggies of different sizes. Also, frozen fruits may become watery when they thaw, but they still taste delicious! Try using frozen fruit for smoothies, for baking, in a marinade with lemon juice and Dijon mustard, as toppings for whole-grain waffles or pancakes, or as a mix in with muffin batter or yogurt. The possibilities are endless!
4. Make Easy, Freezable Tomato Sauce. It’s always handy to have tomato sauce for those nights you just don’t feel like cooking, so why not make a quick batch and freeze it yourself? Start with lots of tomatoes (10 pounds cooks down into eight pints). If you don’t want the skins in your sauce, boil water, drop in your tomatoes, remove after about 30 seconds and then slip the skin off. Then, whether you remove the skins or not, it’s time to chop the tomatoes. Use a knife or a blender, squish them with your hands (be careful if they’re still hot from the boil), or use whatever method you like. Heat olive oil on the stove, add some onion and garlic and then your tomatoes. Cook on medium-low for about 1 ½ to 2 hours depending on how thick you want your sauce, and then add salt and pepper. Allow the sauce to cool, and then freeze individual or family-sized portions in plastic containers, plastic freezer bags, or glass jars.
CHEF TIP: When your tomatoes are cooking, add shredded or diced vegetables for added flavor and nutrients, or throw in some tomato paste for thicker sauce. If you want to use herbs, add dried herbs when the tomatoes are cooking down, or fresh herbs at the end. Your frozen sauce will stay good for 12-18 months.
Note: Since everyone’s health history and nutritional needs are so different, please make sure that you talk with your doctor and a registered dietitian to get advice about the diet and exercise plan that‘s right for you.
Note: Since everyone’s health history and nutritional needs are so different, please make sure that you talk with your doctor and a registered dietitian to get advice about the diet and exercise plan that‘s right for you.

